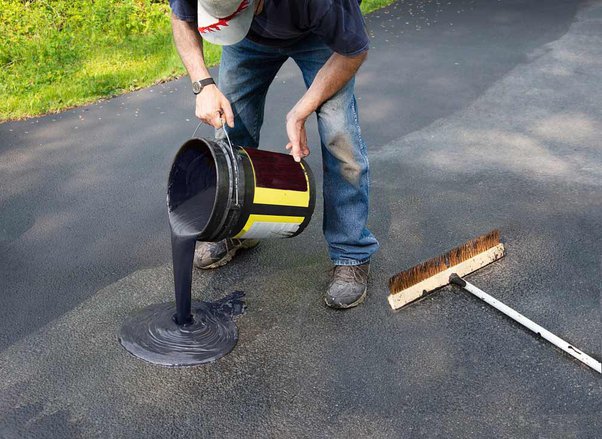
Is your driveway looking worse for wear, marred by those pesky cracks that seem to multiply each season? Well, you’re certainly not alone in this driveway dilemma. Many homeowners face the same issue, especially if you live in an area with wacky weather. Cracks not only make your home’s entrance less welcoming, but if you don’t address them, they can lead to bigger problems down the road.
Before you contemplate tearing up the whole thing and starting over, here are some tips for repairing your cracked driveway that you should look over.
Assess the Damage
Before you dive into the repair job, give those cracks a once-over. Take a good, close look. Are they just small, hairline cracks, or have they decided to throw a party and become wider and deeper? Figuring out the extent of the damage will help you decide how to proceed. If you’re dealing with minor surface cracks, a quick fix should do the trick. But if you’re looking at a driveway that’s seen better days, you might need a more robust solution.
Gather Your Tools and Materials
To tackle your driveway repair project, gather up some essential tools and materials. You’ll want a sturdy broom, a pressure washer, a trowel (that’s like a fancy shovel), a masonry chisel (for those stubborn cracks), and don’t forget safety gear like goggles and gloves. And here’s where our star player comes in – you’ll also need a mud-setting agent for concrete overlays. This stuff is like magic for filling and sealing cracks, making your driveway as smooth as butter.
Clean and Prepare the Surface
Now, before you start any repairs, you’ve got to prep the surface properly. Use that trusty broom to sweep away loose debris, dirt, or any plants trying to make your driveway their new home. Next up, grab your pressure washer and give the driveway a thorough bath. Getting rid of dirt and grime ensures that the mud-setting agent sticks like glue to the cracks.
Fill in the Cracks
Now it’s time to put that mud-setting agent to work its wonders. Follow the instructions on the package to mix it up just right. Then, grab your trowel (remember, it’s like a fancy shovel), and carefully spread the agent into those cracks, making sure they’re filled to the brim. Smooth it out as best you can, so it looks as neat as a freshly made bed. This step is the secret sauce – it seals those cracks up tight and stops them from causing more trouble.
Allow for Proper Drying
But now, the waiting game begins. After you’ve filled in those cracks, give them plenty of time to dry properly. The drying time can vary depending on the product you’re using, so check the label for specific instructions. Don’t rush this part; otherwise, you might end up with a wonky finish or the cracks might not seal properly.
Regular Maintenance is Key
But here’s the thing – your journey doesn’t end here. To keep your driveway in tip-top shape, make regular maintenance a habit. Grab your broom and sweep away debris, pronto. If you spot any stains, tackle them ASAP. And think about applying a sealant to protect your newly repaired surface from future cracks.


